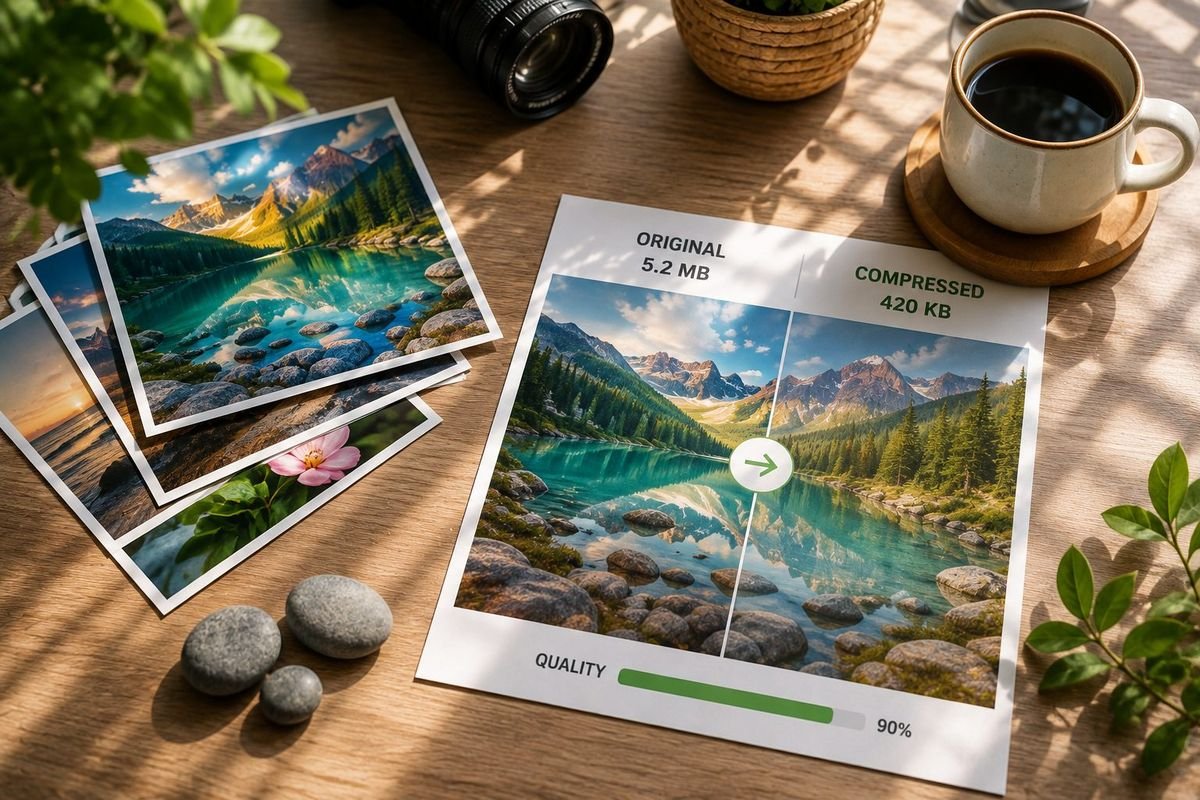
Image compression is one of the highest-leverage skills for anyone who publishes photos online, fills government or job portals, sends email attachments, or builds websites. In 2026, cameras and phones still produce multi-megabyte files by default — yet most screens, forms, and content management systems only need a fraction of that data. Done well, compression lets you compress images without losing quality that viewers can notice. Done poorly, it introduces blur, banding, and blocky artifacts.
This complete guide explains how image compression works, how to compress JPG and PNG files, how to reduce image file size for the web, and how to use private browser tools on FlashFile — including the free Image Compressor, Bulk Image Compressor, and Compress Image to 100KB tool. Browse the full Image Tools directory when you need related utilities.
Quick Answer: How to Compress Images in 2026
- Pick the right format — WebP or JPG for photos; PNG for graphics, text, and transparency.
- Resize only when pixel dimensions exceed the size you actually display or upload.
- Apply lossy compression at quality roughly 75–90 and compare side by side.
- Strip EXIF and other metadata you do not need.
- Hit hard caps (100KB, 200KB) with a target-size tool instead of crushing quality blindly.
- Download and spot-check on a real phone and desktop screen.
That workflow is how professionals practice image optimization every day. The rest of this guide goes deep on each step so you can compress image files confidently.
What Is Image Compression?
Image compression is the process of encoding a picture so it uses fewer bytes on disk or over the network. Algorithms look for redundancy (repeated patterns, smooth gradients, color similarity) and either store that information more efficiently or discard detail that human vision is unlikely to miss at normal viewing sizes.
There are two fundamental families:
- Lossless compression — every original pixel value can be reconstructed exactly. PNG is the classic example for web graphics. File size drops by removing redundancy, not visual detail. Savings are real but often modest for complex photographs.
- Lossy compression — some information is permanently discarded. JPG and lossy WebP are the everyday examples. Higher quality settings discard less; lower settings shrink more aggressively. “Without losing quality” in marketing language almost always means without a noticeable drop, not bit-identical pixels.
Modern image compression also includes format conversion (for example PNG photo → WebP), chroma subsampling, progressive encoding, and metadata stripping. Together these techniques let you reduce image size dramatically while the photo still looks excellent on screen.
Why Image Compression Matters in 2026
- Faster websites and better Core Web Vitals: Images still dominate page weight. Lighter assets improve Largest Contentful Paint and overall UX — which search engines and users both reward.
- Upload limits: Job portals, visa forms, banking apps, and school systems often cap files at 100KB, 200KB, or 1–2 MB. Knowing how to compress JPG and PNG to a target size is a practical life skill.
- Email and messaging: Large attachments bounce or get auto-downscaled. Starting from a clean, reasonably sized file avoids surprises.
- Mobile data and storage: Smaller photos cost less to transfer and store across devices and backups.
- E-commerce and social: Platforms re-encode uploads. Shipping a well-optimized original gives you more control over the final look.
Lossy vs Lossless: Choosing the Right Approach
Use lossless when you need pixel-perfect fidelity — logos, UI icons, diagrams, medical or archival masters, and any graphic with hard edges or transparency. Use lossy when the goal is the smallest practical file for photographs, hero banners, product shots, and social images.
A common professional pattern: keep a lossless or high-quality master offline, then export compressed derivatives for each channel (web hero, thumbnail, email, form upload). Never overwrite your only original with a heavily compressed copy.
Formats That Drive Image Compression Results
JPG (JPEG)
JPG remains the universal format for photographs. It uses lossy compression tuned for continuous-tone images. Quality sliders (often 1–100) control how aggressively detail is discarded. For web photos, quality 75–85 is a strong default; print or hero crops may sit higher. Avoid saving a JPG repeatedly at low quality — generational loss stacks artifacts.
PNG
PNG is lossless (with optional palette modes) and supports alpha transparency. It shines for screenshots, text, flat design, and logos. Large photographic PNGs are often huge; converting those photos to JPG or WebP is usually the correct image compression move. For format trade-offs, read PNG vs JPG: Which Image Format Should You Use?.
WebP (and AVIF)
WebP offers excellent lossy and lossless modes with broad browser support in 2026. Many sites see 25–35% smaller files than comparable JPG at similar visual quality. AVIF can go further still where support and encoding time allow. If your CMS or audience can use WebP, it is often the best modern default for photo image optimization.
How to Compress Images Without Losing Quality
Follow this practical sequence whenever you need to compress images without losing quality:
1. Decide the real display size
A 6000×4000 camera file is wasteful for a 1200px-wide blog hero. Resize first so you are not compressing millions of unused pixels. Matching dimensions to layout is the single biggest free win in image compression.
2. Choose format intentionally
Photos → WebP or JPG. Graphics with transparency or sharp text → PNG (or lossless WebP). Do not force photographic PNG through endless lossless tweaks when a lossy photo format is appropriate.
3. Compress at a moderate quality
Start around 80–90. Compare original and compressed at 100% zoom on edges, skin, sky gradients, and text overlays. Drop quality only until the file meets your size goal. This is how you reduce image file size without a visible quality crash.
4. Strip metadata
EXIF, GPS, and camera maker notes can add tens of kilobytes per photo and leak location privacy. Remove them when the data is not required.
5. Verify on real devices
Preview on a phone and a laptop. Compression that looks fine in a tiny thumbnail can fail on a large retina display — and the reverse is also true for over-cautious settings.
For a shorter tactical walkthrough, see How to Compress an Image Without Losing Quality.
How to Compress JPG Images
To compress JPG files effectively:
- Open the photo in a quality-aware compressor with a live preview.
- Confirm orientation and crop before encoding so you do not waste bytes on empty margins.
- Set quality in the mid-to-high range; watch file size and artifacts together.
- Export progressive JPG when the host benefits from faster perceived loads.
- Avoid opening a heavily compressed JPG and re-saving it at low quality again.
FlashFile’s Image Compressor handles JPG compression in the browser with quality presets and savings stats — no upload required.
How to Compress PNG Images
PNG compression is different because the format is primarily lossless:
- For UI and logos, reduce color depth or use palette PNG when the design allows.
- For screenshots, crop tightly and avoid unnecessary full-desktop captures.
- For photographic PNGs, convert to JPG or WebP — that is usually the real path to reduce image size.
- Keep alpha only when transparency is required; opaque PNG photos are rarely ideal for the web.
After optimization, if you need a document instead of a standalone image, convert with a quality-aware flow such as How to Convert JPG to PDF rather than printing screenshots blindly.
Target Sizes: 100KB, 200KB, and Form Limits
Many official forms demand a passport photo or document scan under 100KB or 200KB. Hitting those caps without destroying faces or text is a specialized image compression task:
- Resize to the exact pixel dimensions the form requests (or the smallest acceptable size).
- Use JPG for photos unless PNG is mandatory.
- Lower quality gradually until you cross under the limit.
- Check facial detail and background banding before submitting.
Use Compress Image to 100KB for a guided path, and read How to Compress an Image to 100KB Online for a full walkthrough. For a 200KB ceiling, Compress Image to 200KB follows the same idea with more headroom.
Bulk Image Compression for Batches
Product catalogs, event galleries, and blog archives need consistent settings across dozens of files. A bulk image compressor applies the same quality and format rules to every photo so your library stays uniform. Process in batches, spot-check a few difficult images (high-contrast edges, large sky areas), then download the set. Client-side bulk tools keep private shoots off remote servers.
Image Optimization for Websites
Website image optimization goes beyond a single quality slider:
- Responsive images: Serve width-appropriate files so mobile devices do not download desktop heroes.
- Modern formats with fallbacks: WebP/AVIF where supported, JPG/PNG where needed.
- Lazy loading: Defer offscreen images so first paint stays fast.
- Correct aspect ratios: Reserve space to avoid layout shift.
- CDN caching: Cache optimized derivatives aggressively.
Compression is the foundation; delivery strategy multiplies the gains. Always start with a well-encoded source file from a trustworthy online image compressor or build pipeline.
Step-by-Step: Compress an Image on FlashFile
- Open the Image Compressor (or bulk / 100KB variants for those jobs).
- Drop a JPG, PNG, or WebP file — processing stays local in your browser.
- Adjust quality or target size and watch the live savings estimate.
- Compare the preview carefully; tweak until the balance feels right.
- Download the compressed image and use it on your site, form, or message.
Privacy claim you can trust here: 100% Client-Side — Your image never leaves your device. FlashFile does not upload your photos to compress them.
Common Image Compression Mistakes
- Crushing quality to 20–40% when 75–85% would have met the limit with better looks.
- Leaving multi-thousand-pixel images untouched for small UI slots.
- Using PNG for large photographs instead of JPG or WebP.
- Ignoring metadata across hundreds of gallery files.
- Uploading sensitive photos to unknown “free compressor” servers.
- Re-encoding the same lossy file repeatedly until artifacts dominate.
- Skipping side-by-side review and trusting file size alone.
Privacy and Client-Side Processing
Many online compressors upload your file to a remote machine. That creates retention risk, slower round-trips, and unnecessary exposure of personal photos. FlashFile image tools use browser APIs (Canvas and related client-side pipelines) so compression happens on your device. Prefer that model whenever you compress photos online — especially for IDs, family pictures, and unpublished product shots.
Related Guides and Tools
Frequently Asked Questions
What is image compression?
Image compression reduces the number of bytes needed to store a picture. Lossless methods keep every pixel reconstructible; lossy methods discard detail the eye is less likely to notice so files become much smaller.
How do I compress images without losing quality?
Choose the right format (WebP or JPG for photos, PNG for sharp graphics), resize only when dimensions exceed what you display, compress at quality around 75–90, strip unused metadata, and compare original vs compressed before you download.
Is JPG or PNG better for compression?
JPG (and WebP) usually compress photographs far more efficiently. PNG is better for logos, UI, screenshots with text, and anything that needs transparency. For a deeper comparison, see our PNG vs JPG guide.
Can I reduce image file size without changing dimensions?
Yes. Re-encoding at a slightly lower quality, switching to a more efficient format, and removing EXIF metadata all shrink the file while keeping the same width and height.
How do I compress an image to 100KB online?
Use a target-size compressor, start with sensible dimensions, then lower quality gradually until you land near 100KB. FlashFile’s Compress Image to 100KB tool does this entirely in your browser.
Is it safe to use an online image compressor?
Only if processing stays on your device. Upload-based tools send photos to a server. Prefer a client-side online image compressor so files never leave your browser.
Does compressing an image always make it blurry?
No. Moderate lossy settings and correct resizing keep photos sharp. Blur and blockiness usually come from extreme quality values or shrinking dimensions too aggressively.
Can I compress multiple images at once?
Yes. A bulk image compressor applies the same settings to a batch and lets you download each result. FlashFile’s bulk compressor runs fully client-side.
Conclusion
Image compression in 2026 is not about crushing every file to the smallest possible number. It is about matching format, dimensions, and quality to the job — websites, forms, email, or bulk galleries — so you reduce image file size while the picture still looks sharp. Lossless where fidelity is sacred; smart lossy everywhere else. Resize before you over-compress. Strip metadata you do not need. Verify on real screens.
Ready to put the guide into practice? Open FlashFile’s free Image Compressor and compress images without losing quality — privately, in your browser, with no upload.
Related FlashFile Tools
Free client-side tools from this guide — your files stay on your device.
Compress Images Without Losing Quality
Free, fast, and private. Reduce image file size with live previews — 100% client-side in your browser.
Related Articles
Keep reading — more PDF and image conversion guides from the FlashFile blog.
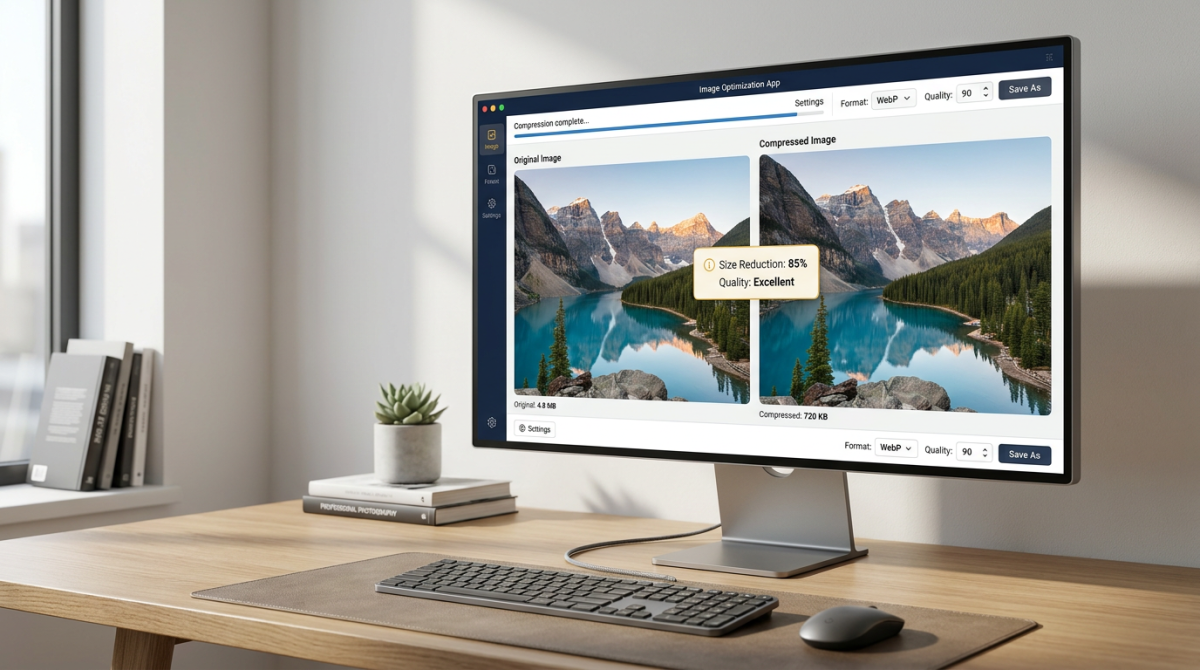 Image Tools
How to Compress an Image Without Losing Quality
Learn how to compress an image without losing quality — best formats, compression techniques, resizing tips, and private online tools.
Read More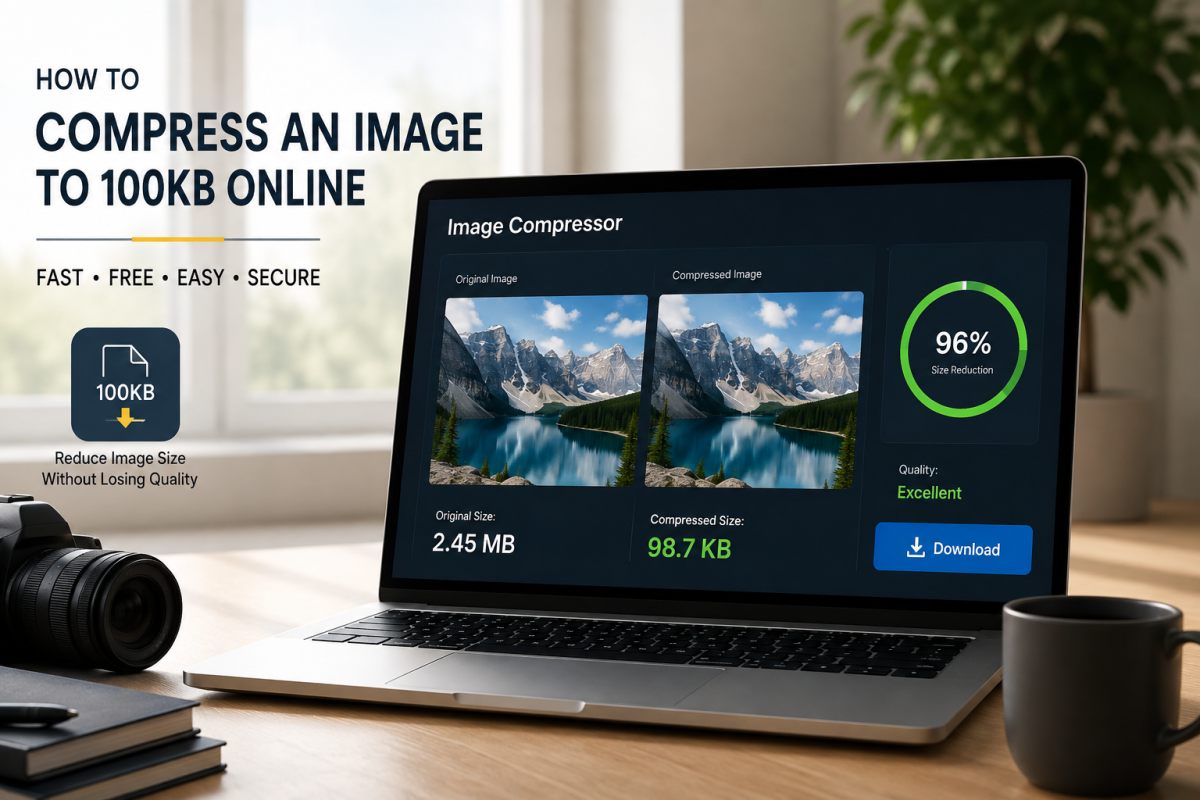 Image Tools
How to Compress an Image to 100KB Online
Learn how to compress an image to 100KB online — best formats, resizing tips, quality-preserving techniques, and private browser tools.
Read More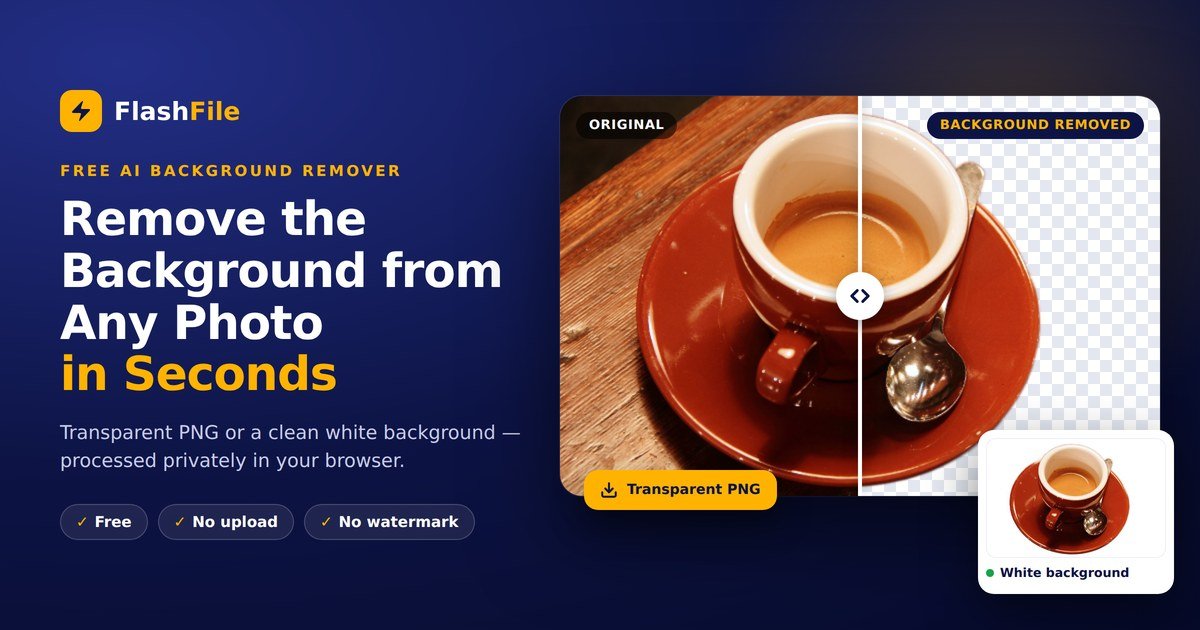 Image Tools
How to Remove Background from Image Online — Free, Fast and Private
Remove image backgrounds in seconds with free AI — no upload, no sign-up. Get a transparent PNG or a white background for products, profiles and design.
Read More